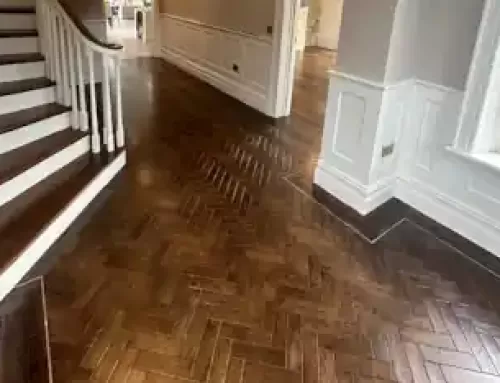
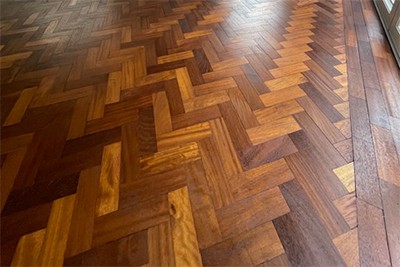
On this project we had to come over some serious issues with this salvaged parquet flooring.
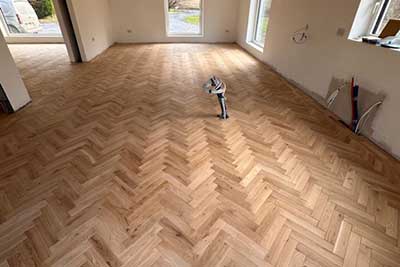
This parquet flooring was fitted well over twenty years ago and on investigating the complete area we discovered a lot of the original block had come away and the bonding of the parquet flooring was starting to fail in a big way.
We had a meeting with the client and discussed the possibility of simply re-gluing the loose blocks, which would be a quick and cost-effective solution. However, we also talked about the option of completely removing and replacing the damaged blocks, which would provide a more long-lasting result but would be more time-consuming and expensive.
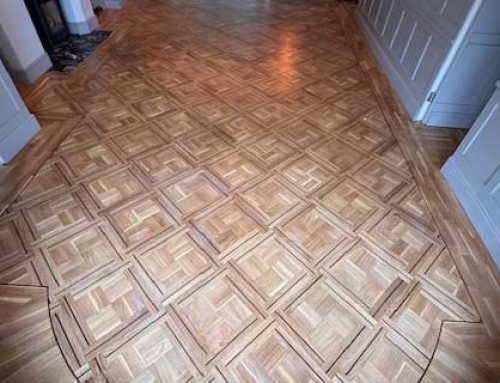
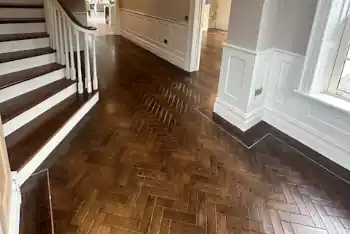
After weighing the pros and cons of each option, the client decided to go with a bit of both removing and replacing the damaged blocks and glueing back existing parquet flooring blocks. We assured them that we would carefully match the new blocks to the existing ones to ensure a seamless finish.
Once the client had made their decision, we got to work on carefully removing the damaged blocks and replacing them with new ones. The process was meticulous and time-consuming, but the end result was well worth it. The client was thrilled with how the repaired parquet fl flooring looked, and we were proud to have helped restore their floor to its former glory.
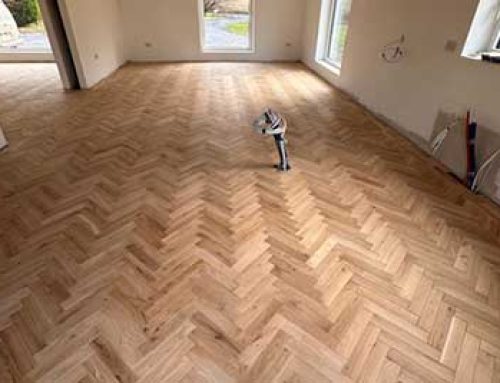
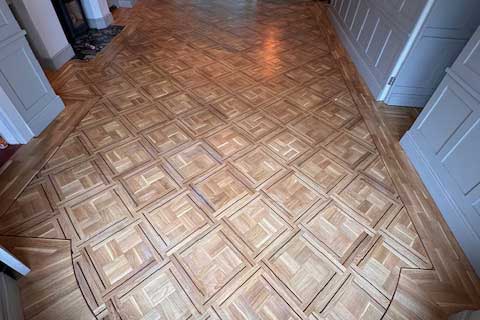
We had to carefully remove each piece of salvaged parquet, clean them, and reassemble them in a way that looked seamless and beautiful, to smooth out any imperfections and create a uniform surface. This involved using a large industrial floor sander to strip away any remaining adhesive, stains, or rough spots.
After the heavy sanding was complete, we moved on to a finer sanding process to really polish the surface and prepare it for finishing. This step involved using a finer grit sandpaper to smooth out any remaining rough patches and create a silky smooth finish.
Once all the sanding was complete, we applied a coat of sealant to protect the wood and enhance its natural beauty. This sealant also helps to prevent moisture damage and wear and tear over time.
After the sealant was dry, we applied a final coat of finish to give the flooring a beautiful sheen and protect it from daily use. This final step helps to enhance the natural color and grain of the wood, creating a stunning finished product.
Overall, the heavy duty sanding process was crucial in achieving a flawless finish for the parquet flooring. It required precision, skill, and attention to detail to ensure every block was perfectly smooth and ready for the final finishing touches. But the end result was well worth the effort, as the flooring looked stunning and was ready to stand up to the test of time.
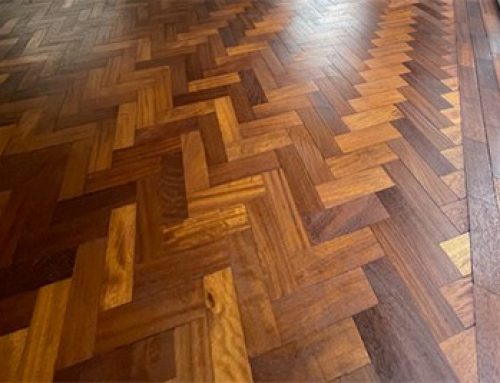
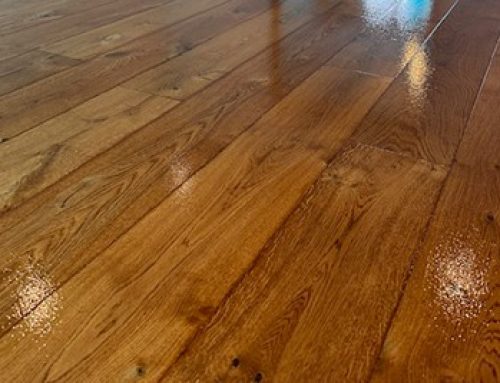
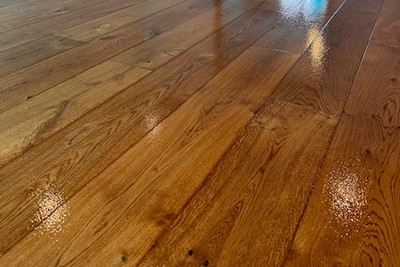
With all of the heavy duty sanding complete it was now time to decide on the type of finish the client wanted , so we advised on go with a wax oil finish with a satin mat tone .
This type of finish would provide a protective layer on the wood while still allowing the natural beauty of the grain to shine through.
We discussed the process with the client, explaining that the wax oil finish would need to be applied in multiple coats and allowed to dry completely between each coat. The client was happy with this plan and excited to see the final result.
After applying the wax oil finish, we allowed it to dry for several days before allowing the client to walk on the floors. The satin mat tone gave the flooring a warm and inviting look, while the durable finish would protect it for years to come.
The client was thrilled with the final result and couldn’t believe how beautiful the parquet flooring looked. They were happy they chose a wax oil finish and were excited to show off their newly refinished floors to friends and family. We were pleased to have exceeded their expectations and to have restored the beauty of their parquet flooring.
Gallery


